© Copyright 2022 by J&K Innovation. All Rights Reserved

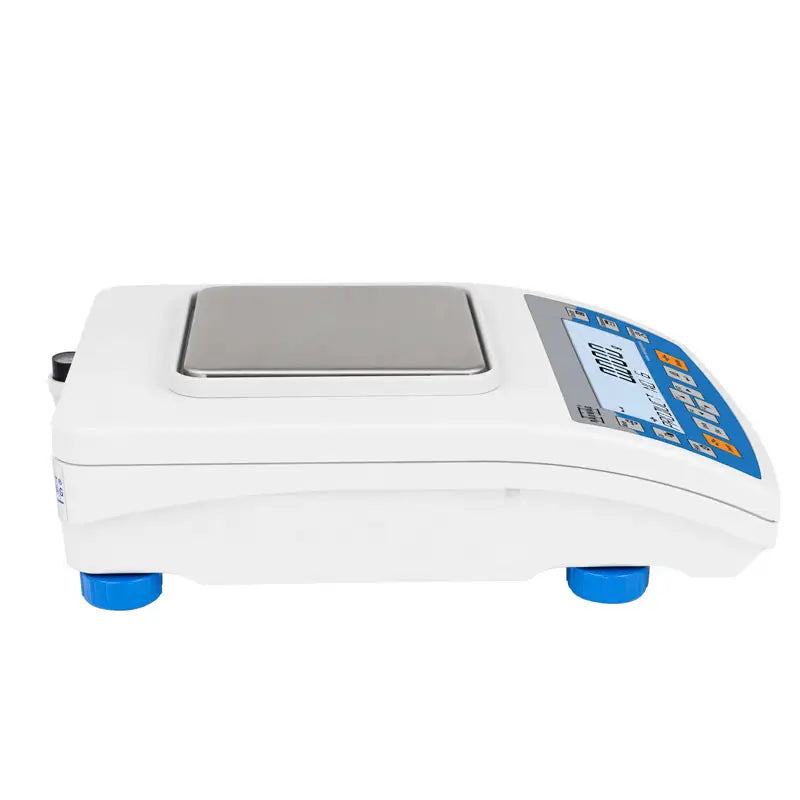
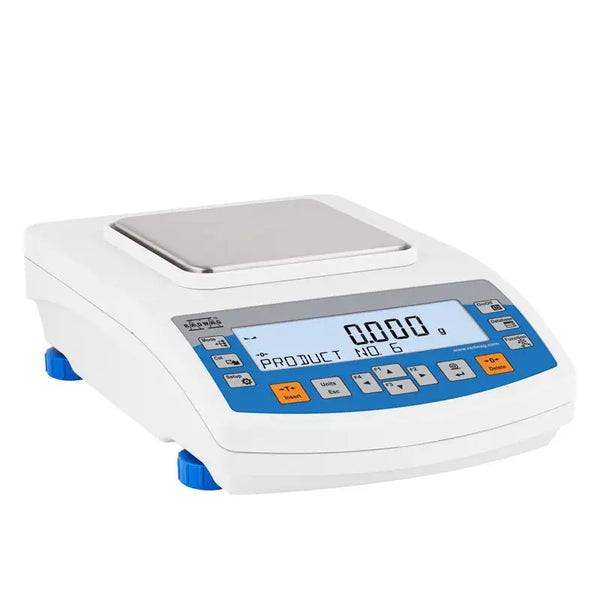
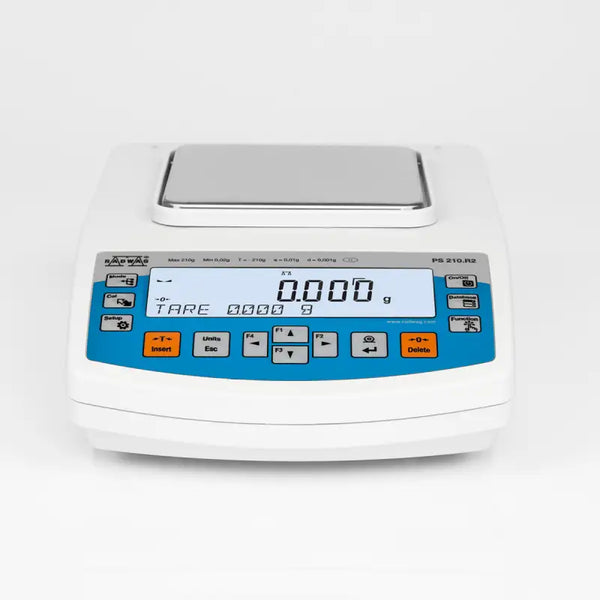
Radwag PS 750.R1 Precision Balance
Description
PS.R2 series balances represent a new standard of precision balances. They feature a new, readable LCD display which allows a clearer presentation of the weighing result. Besides, the display has a new text information line allowing to show additional messages and data, e.g. product name or tare value. New PS.R2 balances, like previously designed PS series balances, have pans in two possible dimensions: 128x128 mm or 195x195 mm. balances with a smaller pan have a draft shield. The balance precision and the measurement accuracy is assured by automatic internal adjustment, which takes into consideration temperature changes and time flow.
Features and Benefits
- Electronic Level Indicator:
-
Functions:
- Autotest
- Dosing
- Percent Weighing
- Totalizing
- Parts counting
- Peak hold
- Statistics
- Checkweighing
- Under-pan weighing
- GLP Procedures
- Animal weighing
- Density determination
-
Extra Functions Keys
- Header printout,
- Tare editing,
- Footer printout,
- Product selection
-
Interfaces
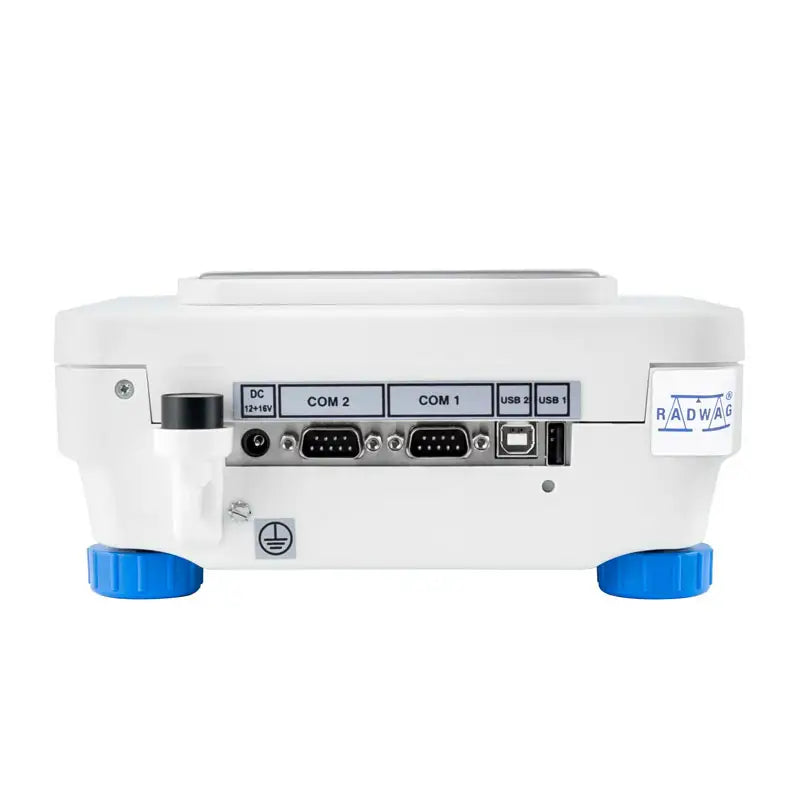
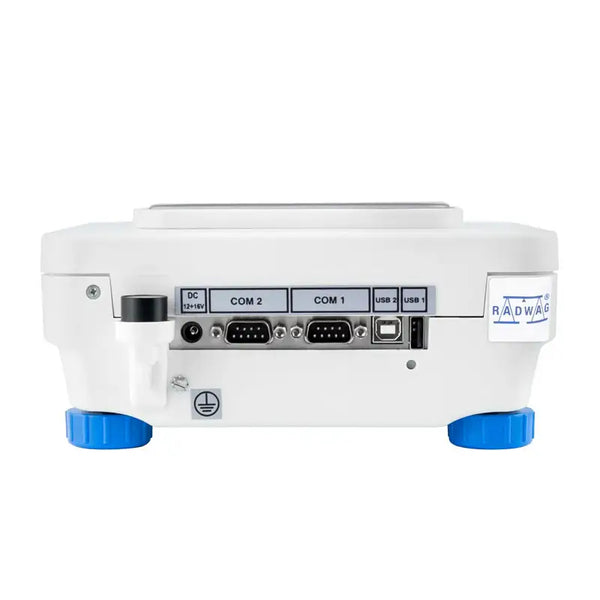
- 2×RS 232
- USB-A
- USB-B
- Wi-Fi (option)
Features and Benefits
- Autotest: Diagnostic function aiming at metrological parameters determination (repeatability), the parameters are determined for the actual conditions of use. When speaking of repeatability it may be also used for weighing time optimization. Autotest is operated in an automatic mode thus operator’s time is saved.
- Dosing: Weighing process for which reference mass has been determined together with tolerance for its determination. Dosing tolerance is given in [%] and it is calculated in relation to the reference value thus being a permissible deviation of this process. This solution is used for weighing powders, liquids and loose materials. Dosing function performance is often supported with bar graph - load indicator. For industrial scales it is possible to use a control systems of dosing process.
- Percent Weighing: Percent Weighing function is used for comparison of measured products with mass standard. Mass of a mass standard may be a numeric value taken from a database or it may be determined through a measurement process. Each measured product is compared to mass standard, mass of which is presumed as a model 100% ideal mass. For products weighing less than the mass standard, obtained results are lower than 100%, for products weighing more, the obtained results are greatly exceeded.
- Totalizing: Function adding new mass value to already obtained one. This allows to determine mass content of the mixture, being a composition of number of different consistence components. Totalizing is limited by maximum capacity parameter.
- Parts Counting: Function using mass measurement for determination of measured items quantity. Mass of a single item is required for this process. It may be either estimated through weighment or taken from a database. For items counting the following algorithm is used: all items mass / single item mass = quantity. Function operation is supperted by a mechanism of Automatic Correction of Accuracy. This allows to update single item mass in course of the process. To a certain extend Automatic Correction of Accuracy eliminates error which may be a result of different mass values of seemingly alike single elements. For industry solutions items counting may be simultaneously carried out with checkweighing and dosing thus industry solutions feature audio signalling base informing that specified number of items has been weighed. It is possible to apply weighing systems using few platfroms of different MAX capacities and different accuracies.
- Peak Hold: Function registering the greatest temporary indication occurring in course of the weighing process. It is most often used in medical scales in order to hold the measurement indication:
- Statistics: Statistics function registers and analyses performed measurements. This supplies the user withthe following information: Max and Min standard deviation, average value, variance, range etc.
- Check weighing: Check weighing function is used for checking whether the measured sample mass is within the predefined threshold values, Low [LO] and High [HI]. The thresholds are given in [g] and [kg] units. Current state of a sample being measured is signaled by means of pictograms located on a display for laboratory balances, for industrial scales stack light System is used. This visual +/- inspection is in operation during segregation, control or packing process of products for which mass has bees determined with a specified tolerance, e.g. 12860 g 961
- Under-Pan Weighing: The solution enables weighing with use of a stand, which is advisable for loads of non-standard shapes and dimensions and those that generate magnetic field.
- GLP Procedures: Diagnostic function allowing to objectively document performed measurements. GLP procedures may be either presented in a short report form or extended one.
- Animal Weighing: Process of mass determination for a product which may unwillingly reposition within the weighing pan. Mass determination in such cases requires much longer period of time when compared to typical weighing process. It is the user who defines period of time needed for control of measured product mass. The user can thus optimize the function depending on the measured product characteristics.
- Density Determination: Liquid or solid body density function uses the Archimedes principle and it requires a special kit to be applied. The kit when used, replaces a weighing pan. For solids mass of the sample must be determined first in the air, next in the liquid of specified density. For liquids the so called sinker, density of which has been determined, must be measured first in the air, next in the tested liquid. The density determination process is disturbed by air bubbles which may stick either to the measured sample or the sinker. In case of laboratory equipment very light solids may be measured. For industry, solid bodies density may be determined by means of under-pan weighing. Tested load of significant size may be measured this way.
Technical Specifications
- Maximum capacity [Max]: 750 g
- Minimum load: 20 mg
- Readability [d]: 0.001 g
- Tare range: -750 g
- Repeatability (Max): 0.0015 g
- Repeatability (5% Max): 0.0005 g
- Linearity: ±0.003 g
- Stabilization time: 2 s
- Adjustment: External
- Display: LCD (backlit)
- Communication interface: 2×RS232, USB-A, USB-B, Wi-Fi (option)
- Power supply: 100 ÷ 240 V AC 50 / 60 Hz
- Operating temperature: +10 ÷ +40 °C
- Weighing pan dimensions: 128×128 mm
- Packaging dimensions: 470×380×336 mm
- Net weight: 3.2 kg
- Gross weight: 4.8 kg
Warranty Information:
- 2-Year Warranty
Please note that for international transactions, customers will be responsible for import taxes, clearance, and duty taxes.
Datasheet
| Maximum capacity [Max] |
750 g |
| Minimum load |
20 mg |
| Readability [d] |
0.001 g |
| Tare range |
-750 g |
| Repeatability (Max) |
0.0015 g |
| Repeatability (5% Max) |
0.0005 g |
| Linearity |
±0.003 g |
| Stabilization time |
2 s |
| Adjustment |
external
|
| Leveling system |
manual
|
| Display |
LCD (backlit)
|
| Protection class |
IP 43
|
| Delivery components |
Balance, weighing pan, weighing pan shield, grounding bumper ×1, bumper ×3, power supply.
|
| Weighing pan dimensions |
128×128 mm |
| Packaging dimensions |
470×380×336 mm |
| Net weight |
3.2 kg |
| Gross weight |
4.8 kg |
| Communication interface |
2×RS232¹, USB-A, USB-B, Wi-Fi® (option)
|
| Power supply |
Adapter: 100 – 240V AC 50/60Hz 0.6A; 12V DC 1.2A
|
| Operating temperature |
+10 — +40 °C |


